

Well fear not, I'm here to guide you through a painless, stress-free pumpkin experience.
lol.
Pumpkins are so versatile, aren't they? Bake them into pies and breads, roast them with butter, blend them up into a soup, and of course carve strange faces into them and set them on your porch.
I wish I had time to go through all the different things one could do with a pumpkin, but that would take waaaay more than one post. Today, I'll just be going over the use that everyone is probably seeing the most of these days: pumpkin carving.
Isn't carving pumpkins such a strange tradition? Apparently the Irish and British have been carving lanterns out of all sorts of vegetables for ages- since the year 1239, to be exact. In the USA, the jack-o-lantern was originally just associated with the fall harvest, not halloween exclusively. I'm guessing it made the jump around the same time kids started going door to door asking for treats and there were more factories than farm houses in America.
Anyways, it's here to stay as a halloween tradition now, so I always try to take advantage of it and find myself a nice big squash to cut images in. When I was younger, my parents, my sister, and I would always carve pumpkins for halloween. My sister and I would each get our own pumpkin and pick out the face we wanted and our Dad would help us carve it out. It was always so much fun, and I'm glad to be carrying on the tradition even though I'm a few hours away from home.
Like I mentioned in an earlier post, Stewie and I went to the Chino Valley pumpkin patch last weekend and picked out a couple of pumpkins. I realize you can buy a pumpkin for 4 dollars at frys, but that's not really the same experience, is it? You get your pumpkin any way you want. I won't judge.
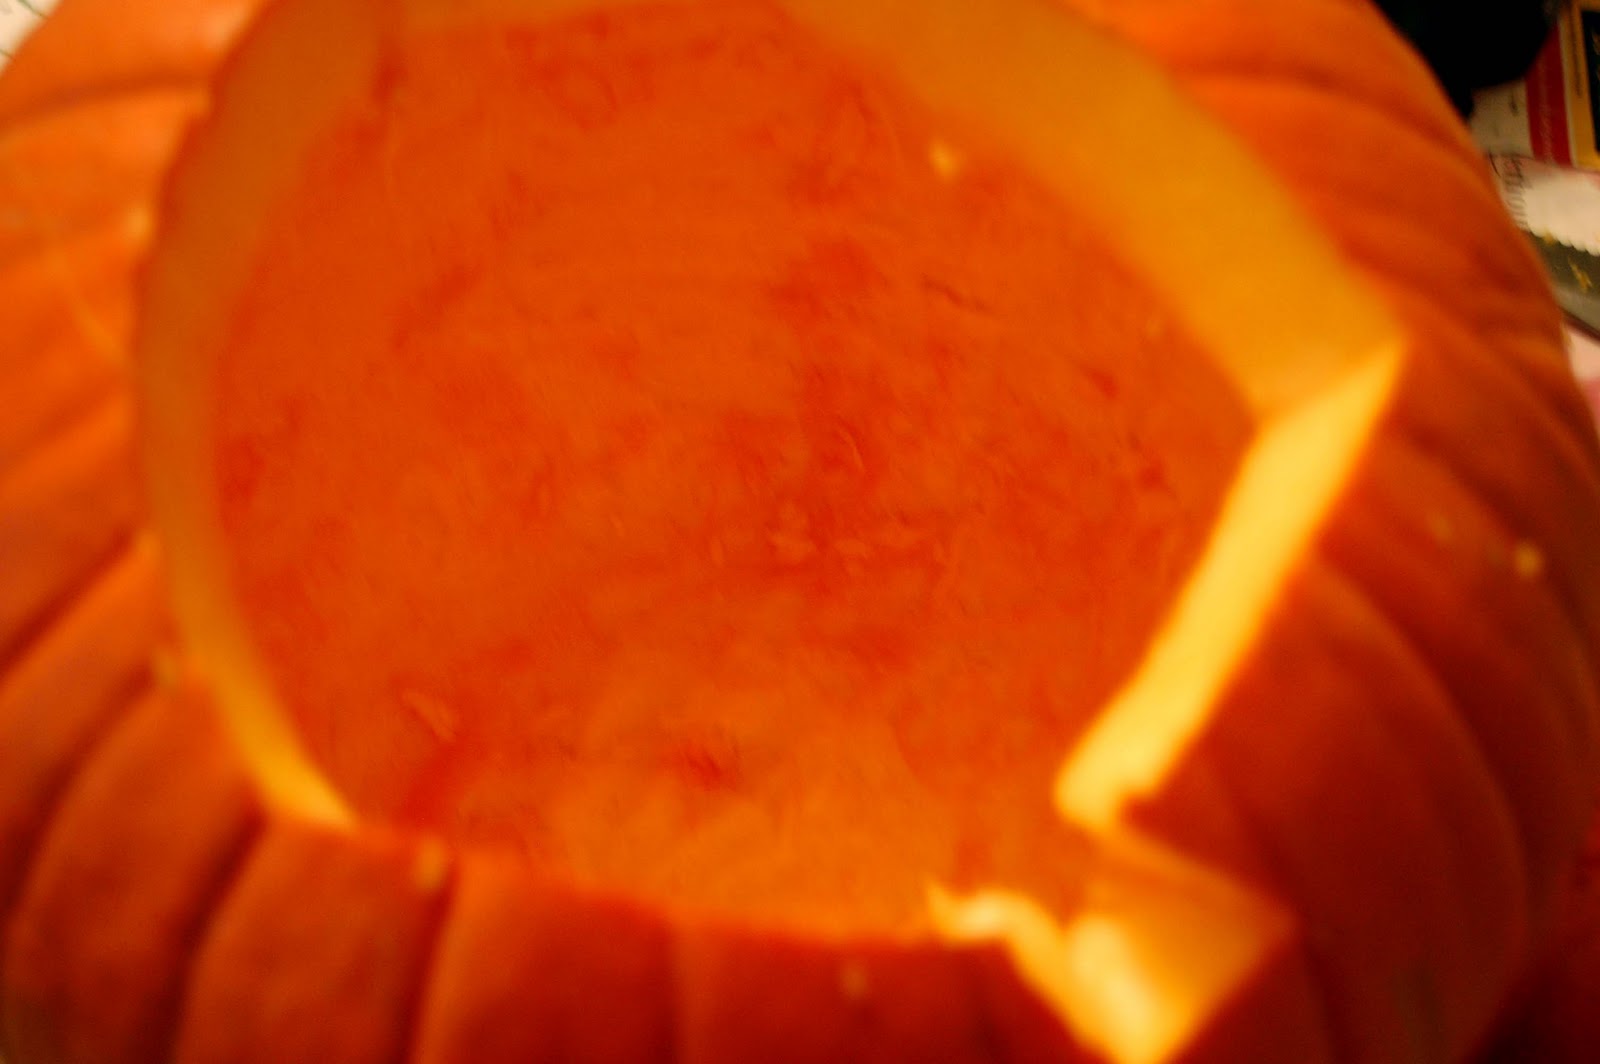
When I was younger my jack-o-lantern faces always had the same triangle eyes with a semi-circle pupil, another geometrical nose, and a wide smile with teeth sticking out in odd places. Since I've gotten older though, I've become interested in experimenting with my pumpkin carving. This year I decided to try a technique I've seen a lot of online- carving away some of the orange but leaving a layer of the white insides for the light to shine through. I think it went well- you'll get to see at the end.
Alright. How about some jack-o-lantern tips from a highly esteemed pumpkin carver? lol. why don't we just get to it.

1. Lay out lots of newspaper on a steady table. You may notice that Stewie and I did not have any newspaper so we took the staples out of a victorias secret catalog and spread the pages all over the table. Also put a large pot or bowl on the table to put the seeds and gunk in. Grab a few knives of various sizes.


In the end I think it was worth the extra effort, though. Here they are after being carved:


 |
| Stewie's |
 |
| Mine |
 |
| Both of ours together |
Tomorrow I'll tell you what kinds of things you can do with the seeds, as well as give you a couple other halloween snack and treat ideas!
Happy Carving :)
Love,
MSoSS
No comments:
Post a Comment